Survey Groups-Import
Overview
User can create a new group or edit an existing one as needed using survey groups option in Uploads module. Users can manage survey groups easily by uploading a file to update multiple groups at once.
To bulk edit the survey groups, follow these steps:
Log in to your Data Governance Tool account.
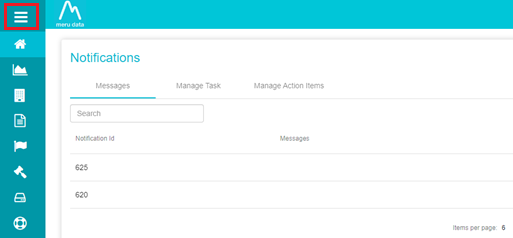
Click on the hamburger menu on Data Governance Tool
From the menu, click on Uploads

On the Upload page, click on the Select Document Type drop-down menu
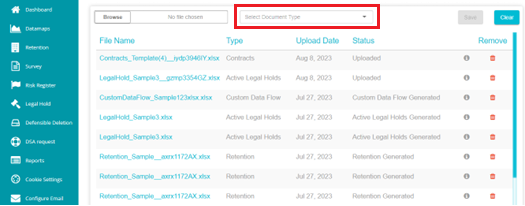
From the Document type drop-down menu, scroll down to select Survey **Group.

Click on the configure template button to configure the columns in template.

Drag and Drop the fields to either include or exclude columns in the template and once done ,click on export button.
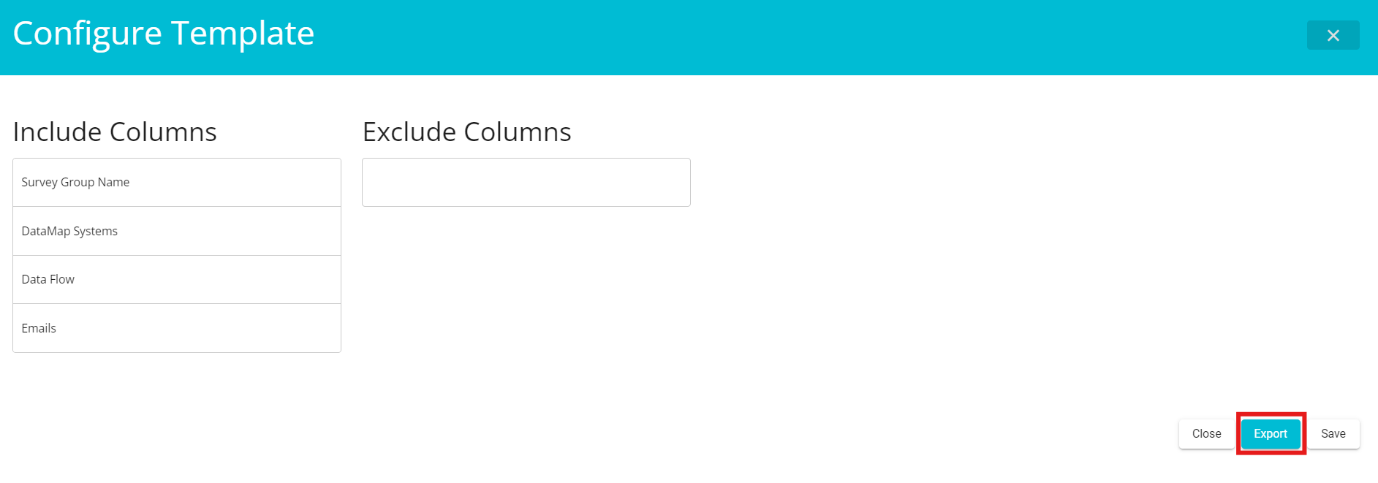
Click on Save button to save the current configured template.
The survey group template will be downloaded to your device. Open the survey group template with Excel.
The survey group will appear on the excel sheet as shown below

Survey Group Name: Enter a name of the survey group you are creating here. Each row of responses is treated as a new survey group. You can create multiple survey groups here and add the responses of those groups as required.
Emails: Enter the email addresses of those users associated with this group. Multiple emails can be added by separating them with commas.
Data Map Systems: Enter the name of an existing data map in the designated column. Each row represents a data map entry. Ensure that only valid, pre-defined data map names are used, as random values are not allowed.
Data Flow: Specify the name of the data flow in the designated column. Each row represents a separate data flow process.
In the example below, multiple survey groups have been created.

Once all the responses have been entered, save the survey group excel on your device.
To upload survey group file back to Data Governance Tool, follow these steps:
From the Survey Groups Upload page, click on Browse

Select the survey you want to upload.

Click Save to upload the survey group file as shown above.
The survey group file will get uploaded to the Data Governance Tool. The status of the survey group file at this time will be Uploaded. A web job runs in the backend, which will change the status of the uploaded file. Refresh the page to view the new status

After the web jobs runs, the status of the file will change to Report Generated.

Click on Report Generated to view the file and verify that the details are as required. Once the verification is done, click the Approve button present on the bottom left of the screen.
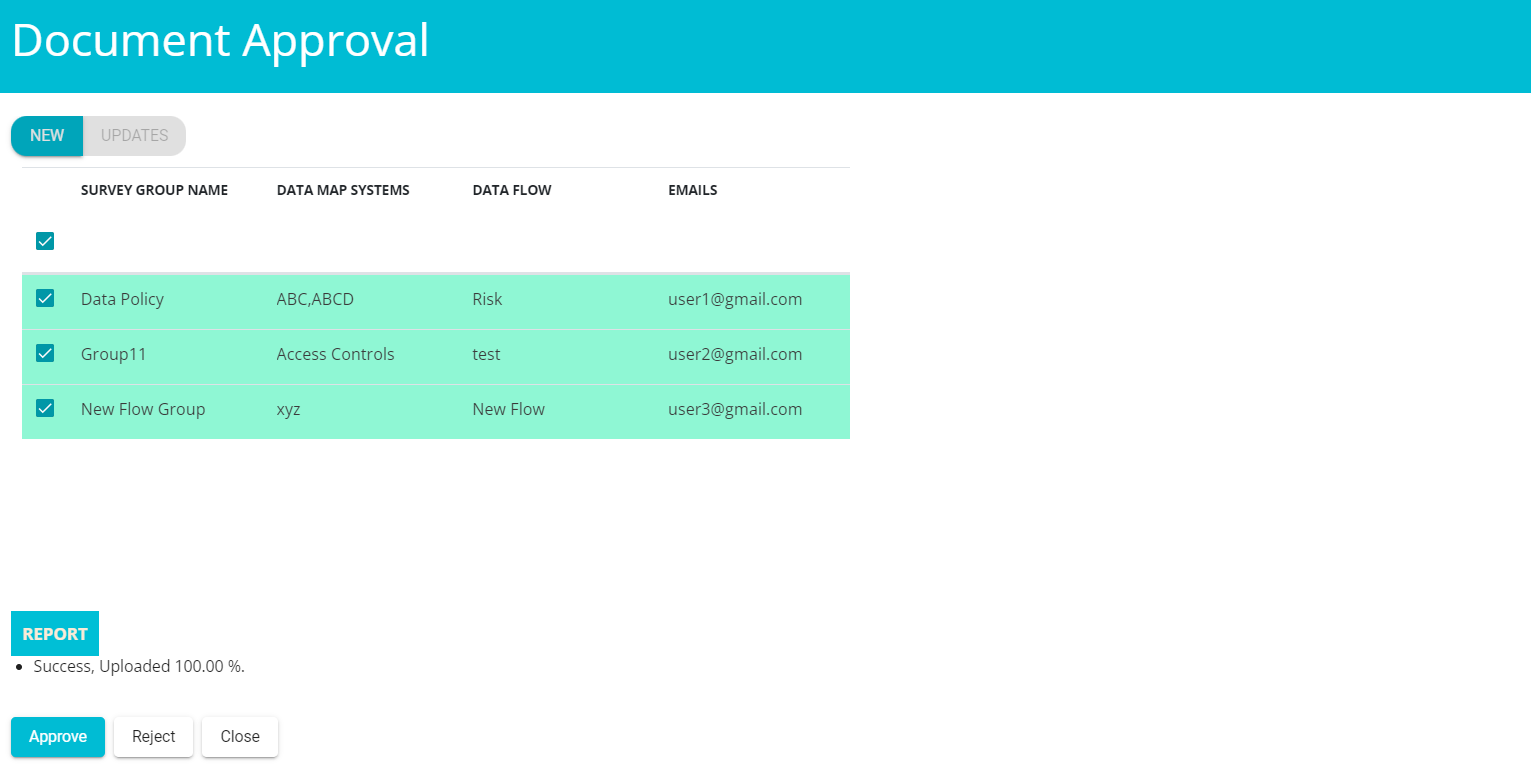
Note: New groups will appear under the "New" tab, while existing groups will be listed under the "Updates" tab.
On approving the survey file, the following pop-up will appear
The status of the file will now change to **To be Approved

Once the web job runs, the status of the file will change to Survey Group Generated

To view the uploaded survey groups, follow these steps:
The uploaded survey group will be visible on the Survey group section.

Click on Save Button to save the changes made in survey group section.